I’ve been thinking of making my own book scanner for a while now. Since only thinking about something doesn’t get you anywhere, I’ve actually started building it.

But before we get to the building of the device—still in progress—let me explain by design goals. The first and foremost goal is that the scanner has to be book-friendly. If you’re going to destroy the book, you might as well use a bandsaw and cut its back off, and use a paper-feed scanner of some sort. So to avoid damage, the lectern on which the book will rest has to be soft, and avoid the need to split the book open.
But I also want the scanner to be a single-lens system in order to minimize cost and simplify the control software. So I probably can’t use a lectern with a right angle. The best approach would probably be to use a variable-pitch lectern, but that’s a bit complicated. I’ve decided to use a shallow angle. Maybe it won’t work well. Let’s find out!
I don’t think you need a lot of special hardware to build something like that. Certainly a mitre saw. Glue. Bar clamps. Nails. Scrap wood. There’s always a lot lying around in a workshop.
*
* *
Let’s start by the base. Shallow angle, base frame:

Let’s nail and glue this together (adding glue, even if there are nails, strengthen joints):

Adding the blocks (with nail and glue as well):
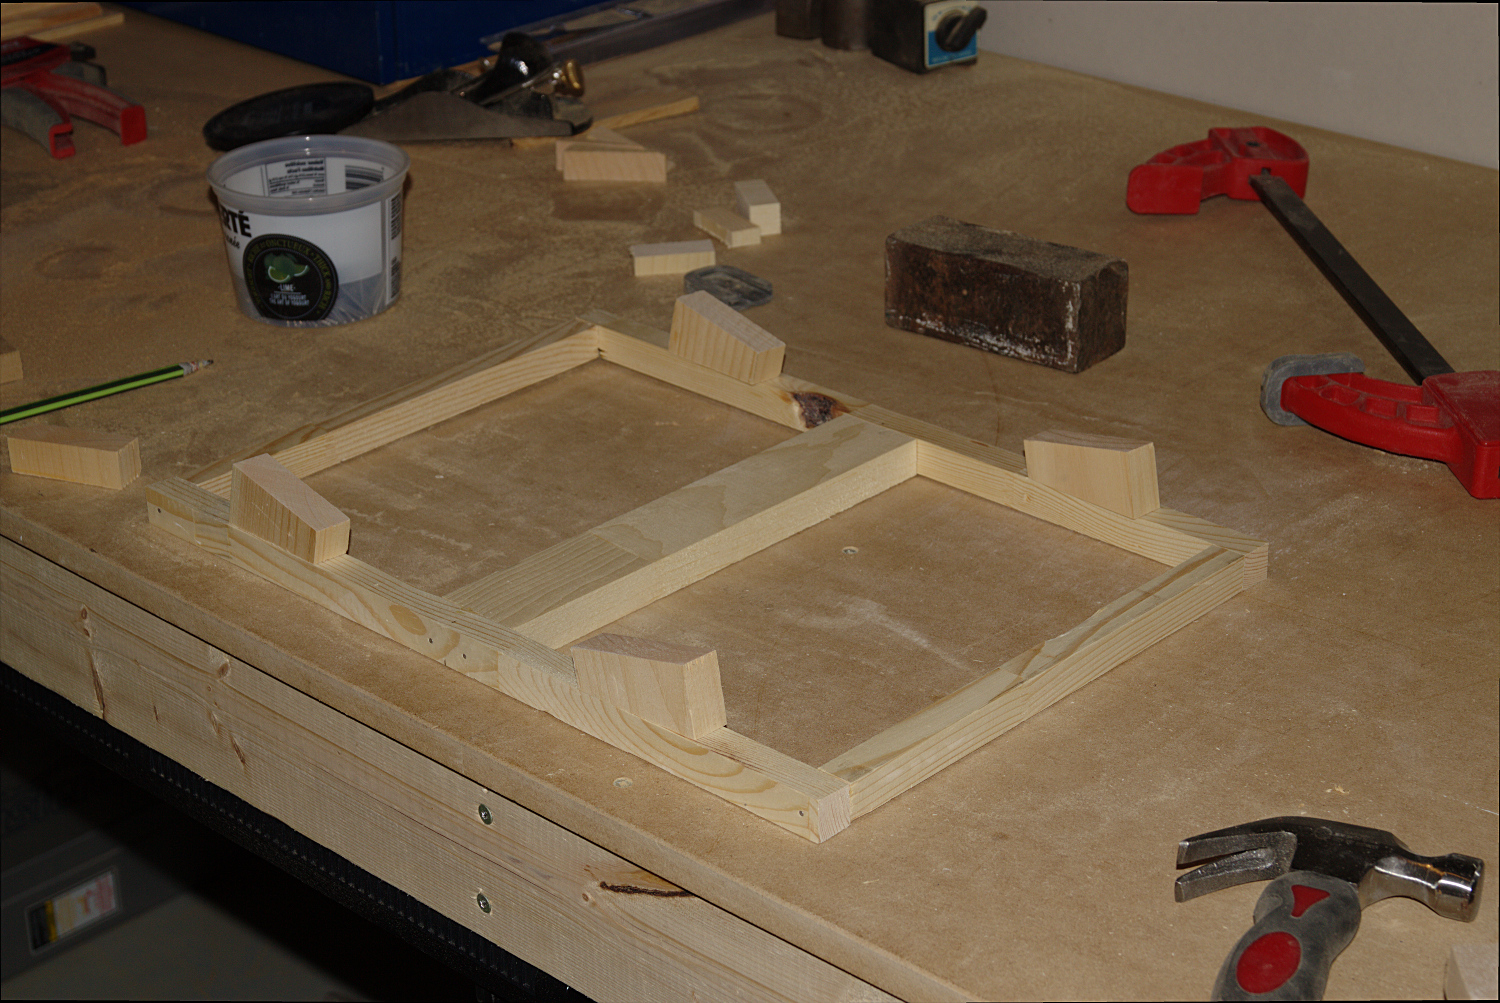
Fix the planks that will eventually support the books:

…and let the glue set for a while.
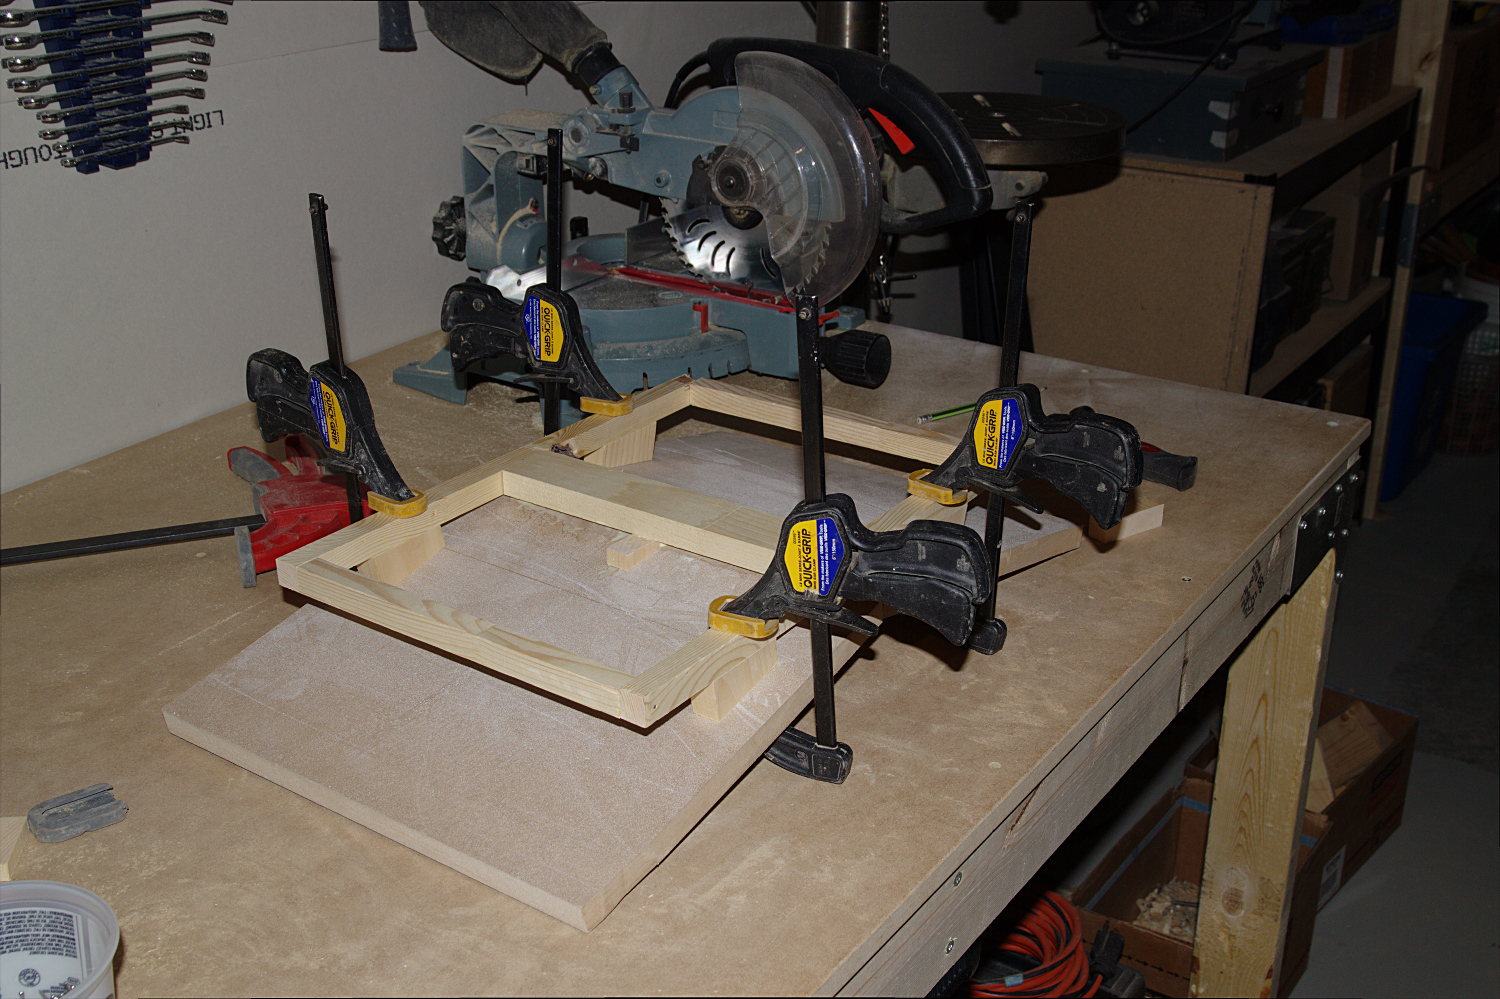
Voilà: a completed rough base:

*
* *
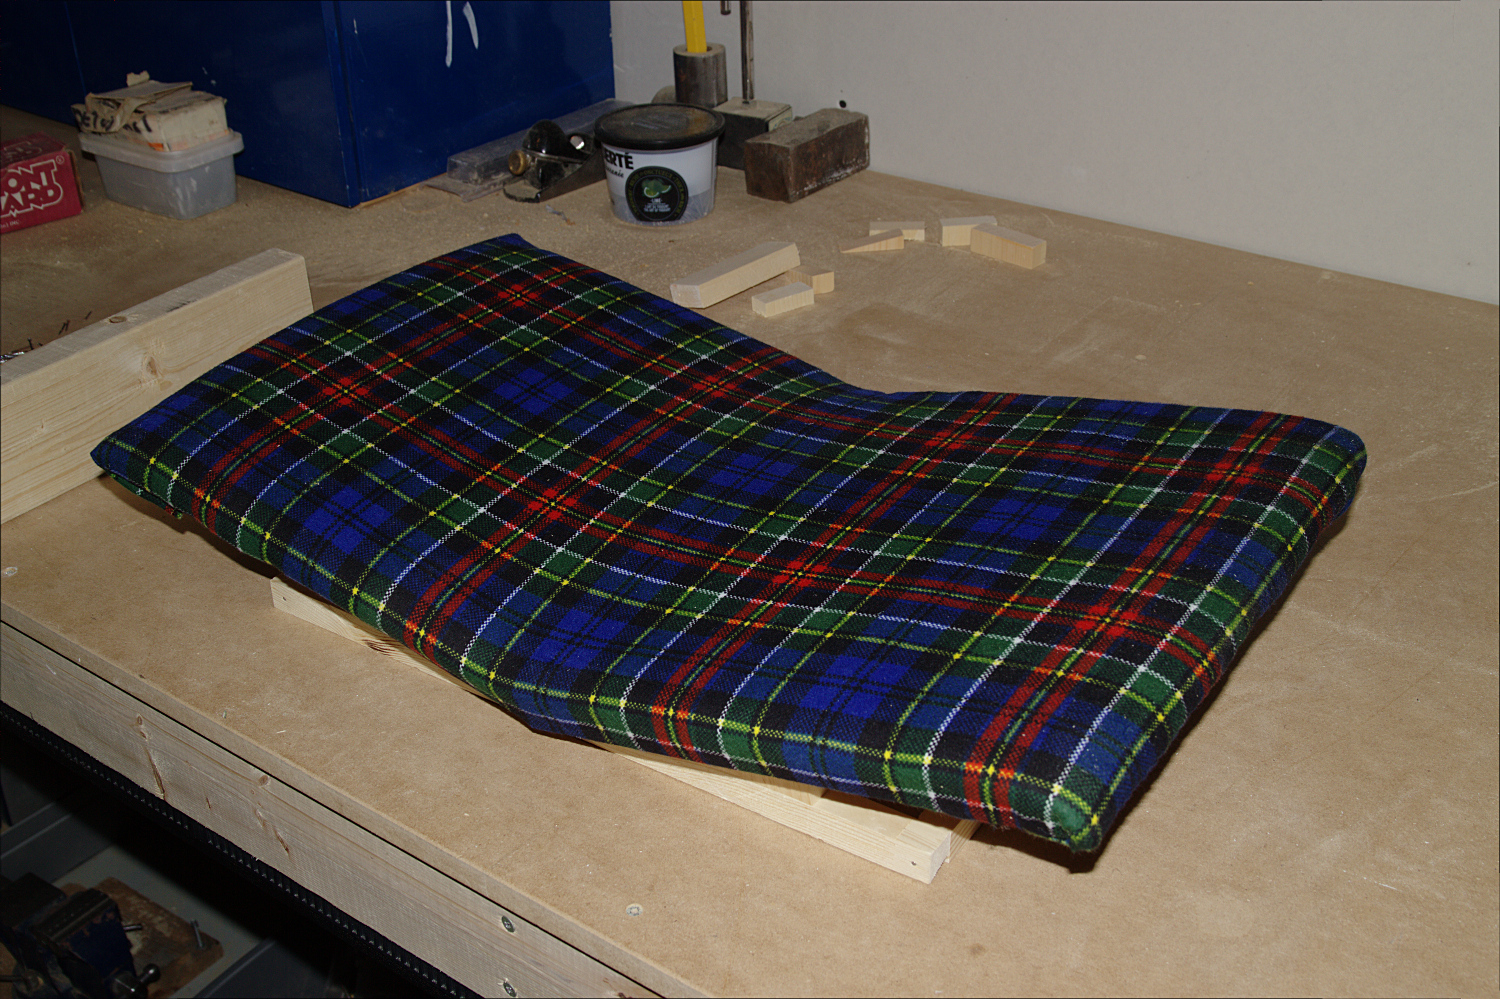
Now, let’s make this comfy for the books (or cats, if the experiment fails). Basic upholstery padding (that you can get in any fabric store) will do just fine. Cut to size:

I got flannel for something else and I had enough to cover the padding.

Stretch to size and fix with small upholstery nails. The one I used probably aren’t really upholstery nails, but whatev. The important thing is to have enough so that the fabric doesn’t go anywhere, and holds the padding in place.

And you’re done.
That’s about 3h worth of work, not counting the time for the glue to set. It usually sets fasts, say over lunch or so.

*
* *
Next time, we’ll see how to build the frame holding the glass used to spread the pages as evenly as possible.
